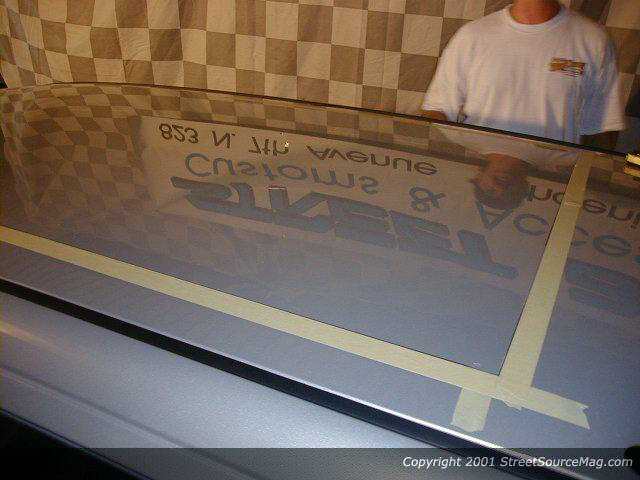
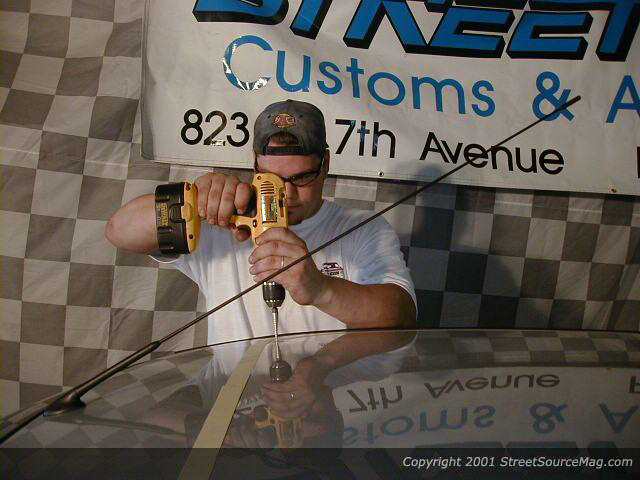
 Step 8: Using tape as a guideline, mark out the area you will be cutting. Using the tape helps keep the paint from getting damaged in the cutting process. Step 8: Using tape as a guideline, mark out the area you will be cutting. Using the tape helps keep the paint from getting damaged in the cutting process. 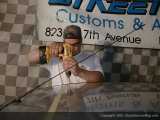 Step 9: Using a Unibit, John starts the process by opening up a hole in the corner. The rounded edges also help keep the roof from having problems later. The hole he is making is also to ease in the nibbler we will be using to cut the roof. Step 9: Using a Unibit, John starts the process by opening up a hole in the corner. The rounded edges also help keep the roof from having problems later. The hole he is making is also to ease in the nibbler we will be using to cut the roof.
|
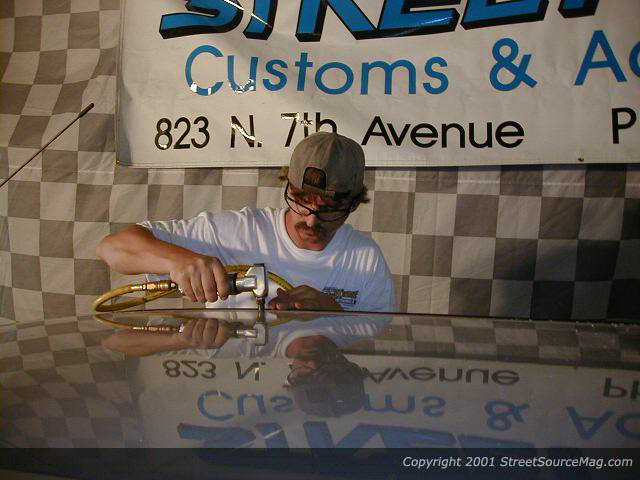
 Step 10: Although you can also use a sawzall for this, Dave is using an air nibbler to keep the sheetmetal from distorting. Step 10: Although you can also use a sawzall for this, Dave is using an air nibbler to keep the sheetmetal from distorting.  Step 11: Using clamps to hold the roof up, as well as a spotter, Dave finishes cutting the roof. Step 11: Using clamps to hold the roof up, as well as a spotter, Dave finishes cutting the roof.
|